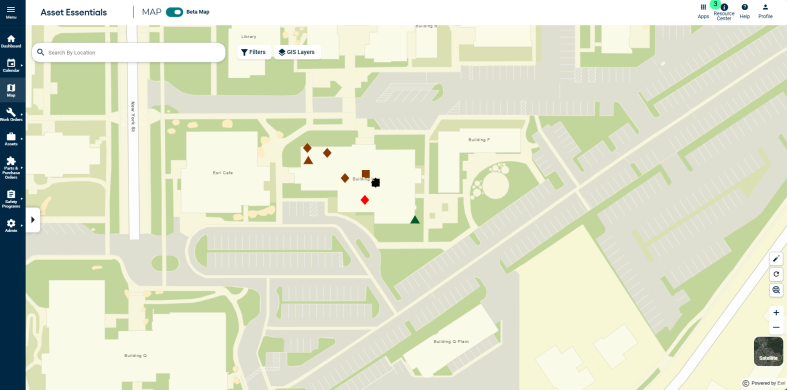
Using the ESRI Map [Beta Map]
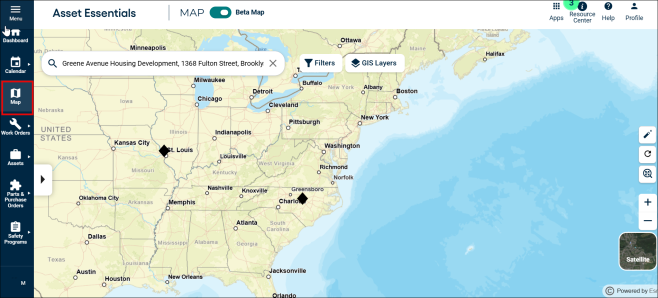
In Asset Essentials, you can use the Esri map feature to view and create work orders, as well as view your GIS layers. The data displayed on the map is based on what you have set up in the Beta Map Configurations settings section under Configurations. *Note: Contact Client Services to have the Esri map activated in your account.
To access the map:
-
Click on the Map menu icon.
Using Filters and Search
-
Click on the Filter button (
 ) at the top of the screen to open a panel of options by which you can filter your work orders on the map.
 -
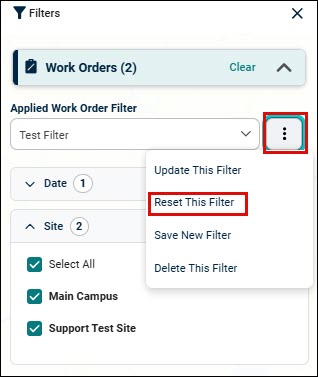
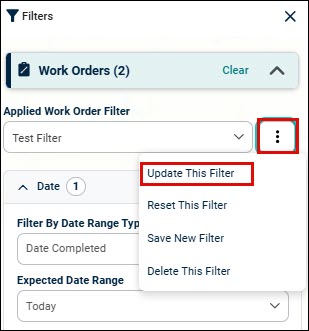
Click on the three vertical dot and click Reset This Filter to remove any additional filters over the saved filters.
NOTE The Reset This Filter takes you back to the saved version of your applied filters.
-
You can filter by the following:
-
Date
-
Site
-
Priority
-
WO Status
-
Work Category
-
Assigned To
-
Creating and managing saved filters
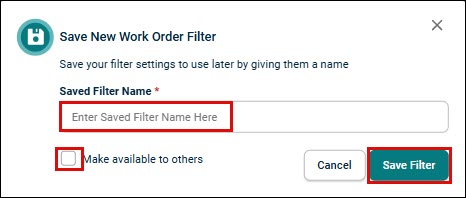
- To save your filter selections, click the three dot and select Save New Filter.
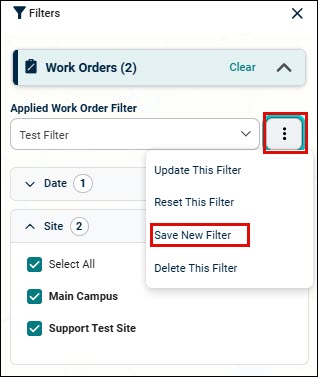
A new pop-up widow appears.
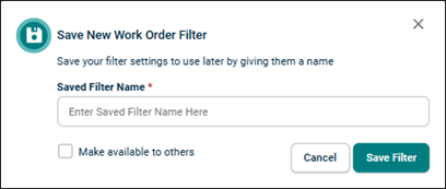
- Enter a Saved Filter Name in the cell.
- If you would like this filter available to other users, check the Make available to others box.
NOTE This is only available to the users having who have permission to create/edit shared views.
- Click the Save button.
- To update your saved filter, and make any necessary selections, click the vertical three dot and select Update This Filter.
A new pop-up window appears.
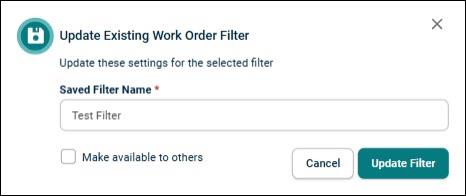
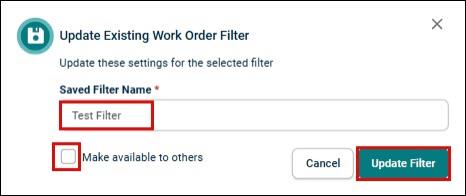
• Enter Saved Filter Name in the cell.
• If you would like this filter available to other users, check the Make available to others box.
NOTE This is only available to the users who have permission to create/edit shared views.
• Click Update Filter.
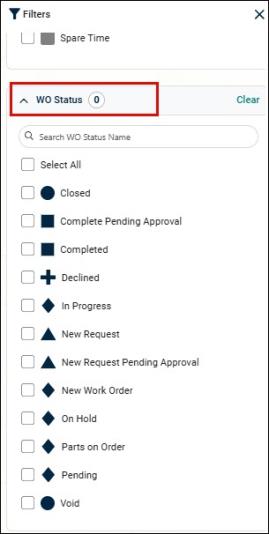
Filtering WO Status and Work Category
WO Status
- To search for work orders on the map, click the Filter button at the top of the map, then click on the WO Status drop down.
-
Select the required work order status which you want to search.
-
• Click the Select All check box (
 ) to choose all work order status that you would like to search by.
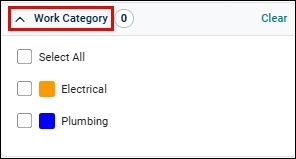
Work Category
-
To search for work category on the map, click the Filter button at the top of the map, then click on the Work Category drop down.
-
Select the required work category which you want to search.
-
Click the Select All check box (
) to choose all work category that you would like to search by.
Viewing and Editing Work Order Point Shapes and Colors
Each work order point on the map will have a shape and color associated to it. The shape will indicate the status of the work order. The color will indicate either the work category or priority of the work order. *Note: If you need to make adjustments to your configurations for this feature, please contact Client Services.
- To adjust what you want the color of the work order points to represent, you must select either Work Category or Priority in the Work Order Color drop-down menu on the map settings page in your account.
- To adjust the color of each work category or priority, click on Admin, then Configurations.
- In the Work Order section select either Work Categories or Priorities.
- Select the appropriate item from the list.
- In the Color field, use the drop-down menu to select the appropriate color.
- Click Save at the top of the page.
- Each work order point will have a default shape based on the status categories in your account:
- Shape = Triangle
- Status categories: None, Request, Request Pending
- Shape = Diamond
- Status category: Assigned
- Shape = Cross
- Status categories: Denied, Request Denied
- Shape = Square
- Status categories: Completed, Complete Pending Approval
- Shape = Circle
- Status categories: Archived, Deferred
- Shape = Triangle
- To adjust the shape of the work order point, you must select the appropriate Shape for each status from the drop-down menu on the WO Statuses page in your account.
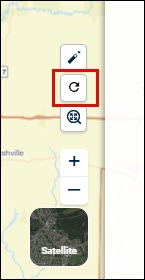
Refreshing the Map
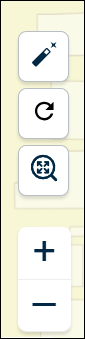
- To update the map with the latest information in your account, click the Refresh button (
 ) on the right side of the map in the tool bar.
Viewing Layers
- Click on the Layers button (
 ) at the top of the screen to open a panel with a list of the available layers in your account. You can also view a legend that corresponds with those layers, showing you how they will be labeled on the map.
 - Check the eye icon next to the layers you would like to turn on. *Note: A grayed out layer in the list indicates that you are not zoomed in far enough to view it. Zoom in on the map until that layer becomes active in the list. You can then check the box to view it on the map.
_406x412.png)
Zooming In and Out
- Click and drag your mouse on the map to move it.
- Click the Zoom In button (
 ) or Zoom Out button (
 ) to zoom in or out of the map. *Note: You can also use the scroll wheel on your mouse to zoom in and out.
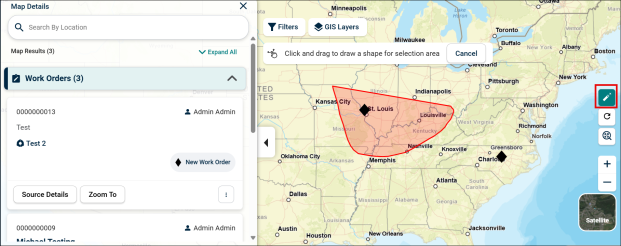
Selecting and Viewing Work Orders or GIS Features
- To select a group of work orders or GIS Features, click the select tool (
 ). You can also simply click on a single work order or GIS feature on the map.
 - If you are using the select tool, draw a circle around the work order(s) or GIS Feature(s) you want to select. The selected items will highlight and populate in the results panel for you to view.
- If you would like to clear the selected work items, click on the clear selection icon (
 ).
).
Creating a Work Order from the Map
Creating a work order by dropping a pin
- Click directly on the map to create a work order from the map.
- Use the zoom in or zoom out feature to pinpoint the location of where the work needs to take place, and then click with your mouse to make the location pin (
 ) appear.
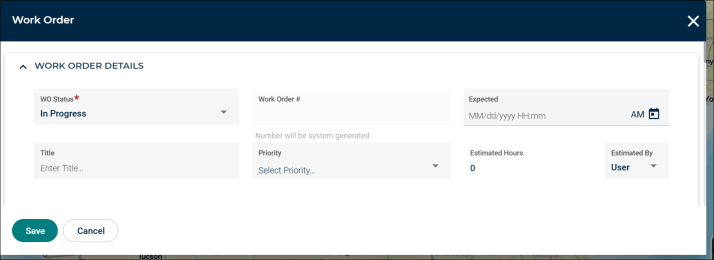
 - Click the Create button in the pop-up window. This will open the new work order form. *Note: The Address section on the work order will automatically fill in based on the coordinates on the map. If you add an asset or other work source, the address section will not update to match the source address unless you click the Use Work Source Address button.
- Fill out your work order details, and then click Save at the bottom of the form to return to the map.
Creating a work order by address
- To create a work order by searching for a specific address, type the address in the search bar.
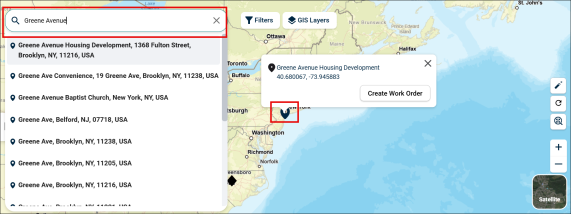
- Based on the text you typed, the drop-down will show the potential matches for the location.Select an item from the list to complete the search and drop the single pinpoint on the map.
- Click the Create Work Order button in the search result card. This will open the new work order form. *Note: The Address section on the work order will automatically fill in based on the coordinates on the map. If you add an asset or other work source, the address section will not update to match the source address unless you click the Use Work Source Address button.
- Fill out your work order details, and then click Save at the bottom of the form to return to the map.
Creating a work order from an asset on the map
Note: In order to create a work order based on a GIS Asset, your account must be configured to gather Asset information from your Beta Map configurations.
.png)
Creating a work order for one asset
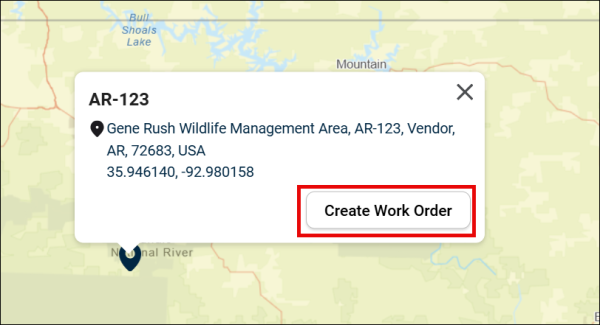
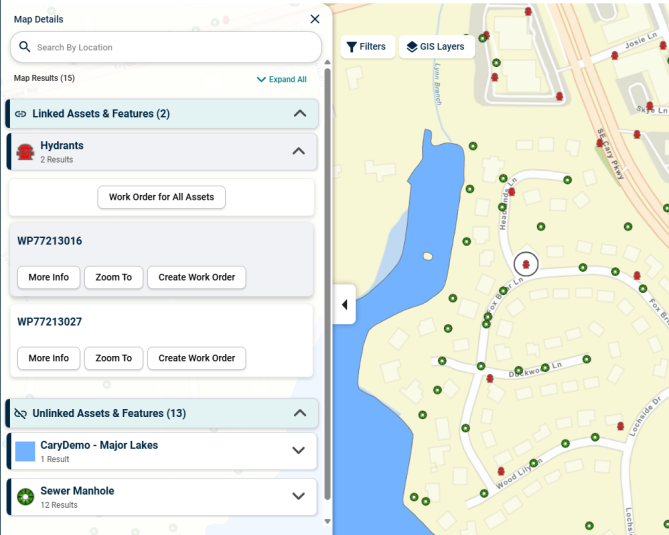
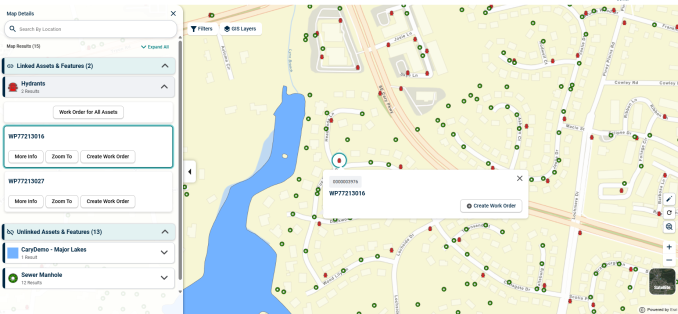
- Click on the GIS Asset on the map.
- The GIS Layers selected will appear in the results panel. If the GIS Layer has been linked to Asset Essentials, you will be able to click the Create Work Order button for the selection.
- Fill out your work order details, and then click Save at the bottom of the form to return to the map.
Creating a work order for multiple assets
- Click the select tool ().
- Make your selection on the map.
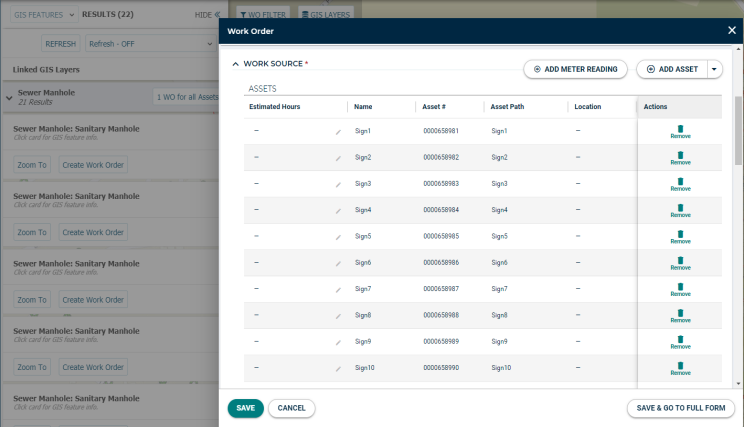
- The selected GIS Layers will appear in the results panel. For any linked GIS Layers, click the 1 WO for all Assets button to create a work order for all selected Assets in the Layer. *Note: If any Asset(s) within that Layer are inaccessible due to a linking issue or insufficient permissions, a prompt will appear listing the Asset(s) in question. Click Continue to create the work order without the listed Asset(s).
- Fill out your work order details, and then click Save at the bottom of the form to return to the map. *Note: The work order will appear in the center of an invisible bounding box that is the size of the outermost assets in the selection.
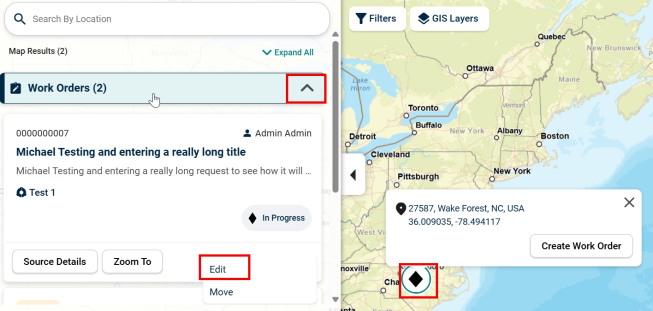
Editing a Work Order from the Map
Editing the work order details
- Click on a work order dot on the map to show the work order information card in the panel to the left.
- • From the ellipsis (⋮), click the Edit button. The work order form will appear.
- Make any necessary edits including adding internal or external labor or completing any tasks. *Note: Once an address exists in the address section on the work order, it will remain there and the system will never override it if changes are made to the work order. You must manually update the address if needed.
- If you need to add more details such as part or equipment transactions, click the Save and Go to Full Form button at the bottom to be directed to the full new work order form.
- Click Save at the bottom of the form to return to the map.
Moving a work order on the map
- Click on a work order dot on the map to show the work order information card in the panel to the left.
- Click the Move button.
- A window will appear on the map. Check the Update Address box if you would like the address information on the work order to change based on the new location.
- Select where the work order will be moving to by clicking the appropriate area of the map. A blue pin will show on the map signifying the new location.
- Click the Move button. The work order will move to the selected location on the map.

